
How to Achieve Professional Sound Quality at Home: DIY Mastering Tips


Setting Up Your Home Studio
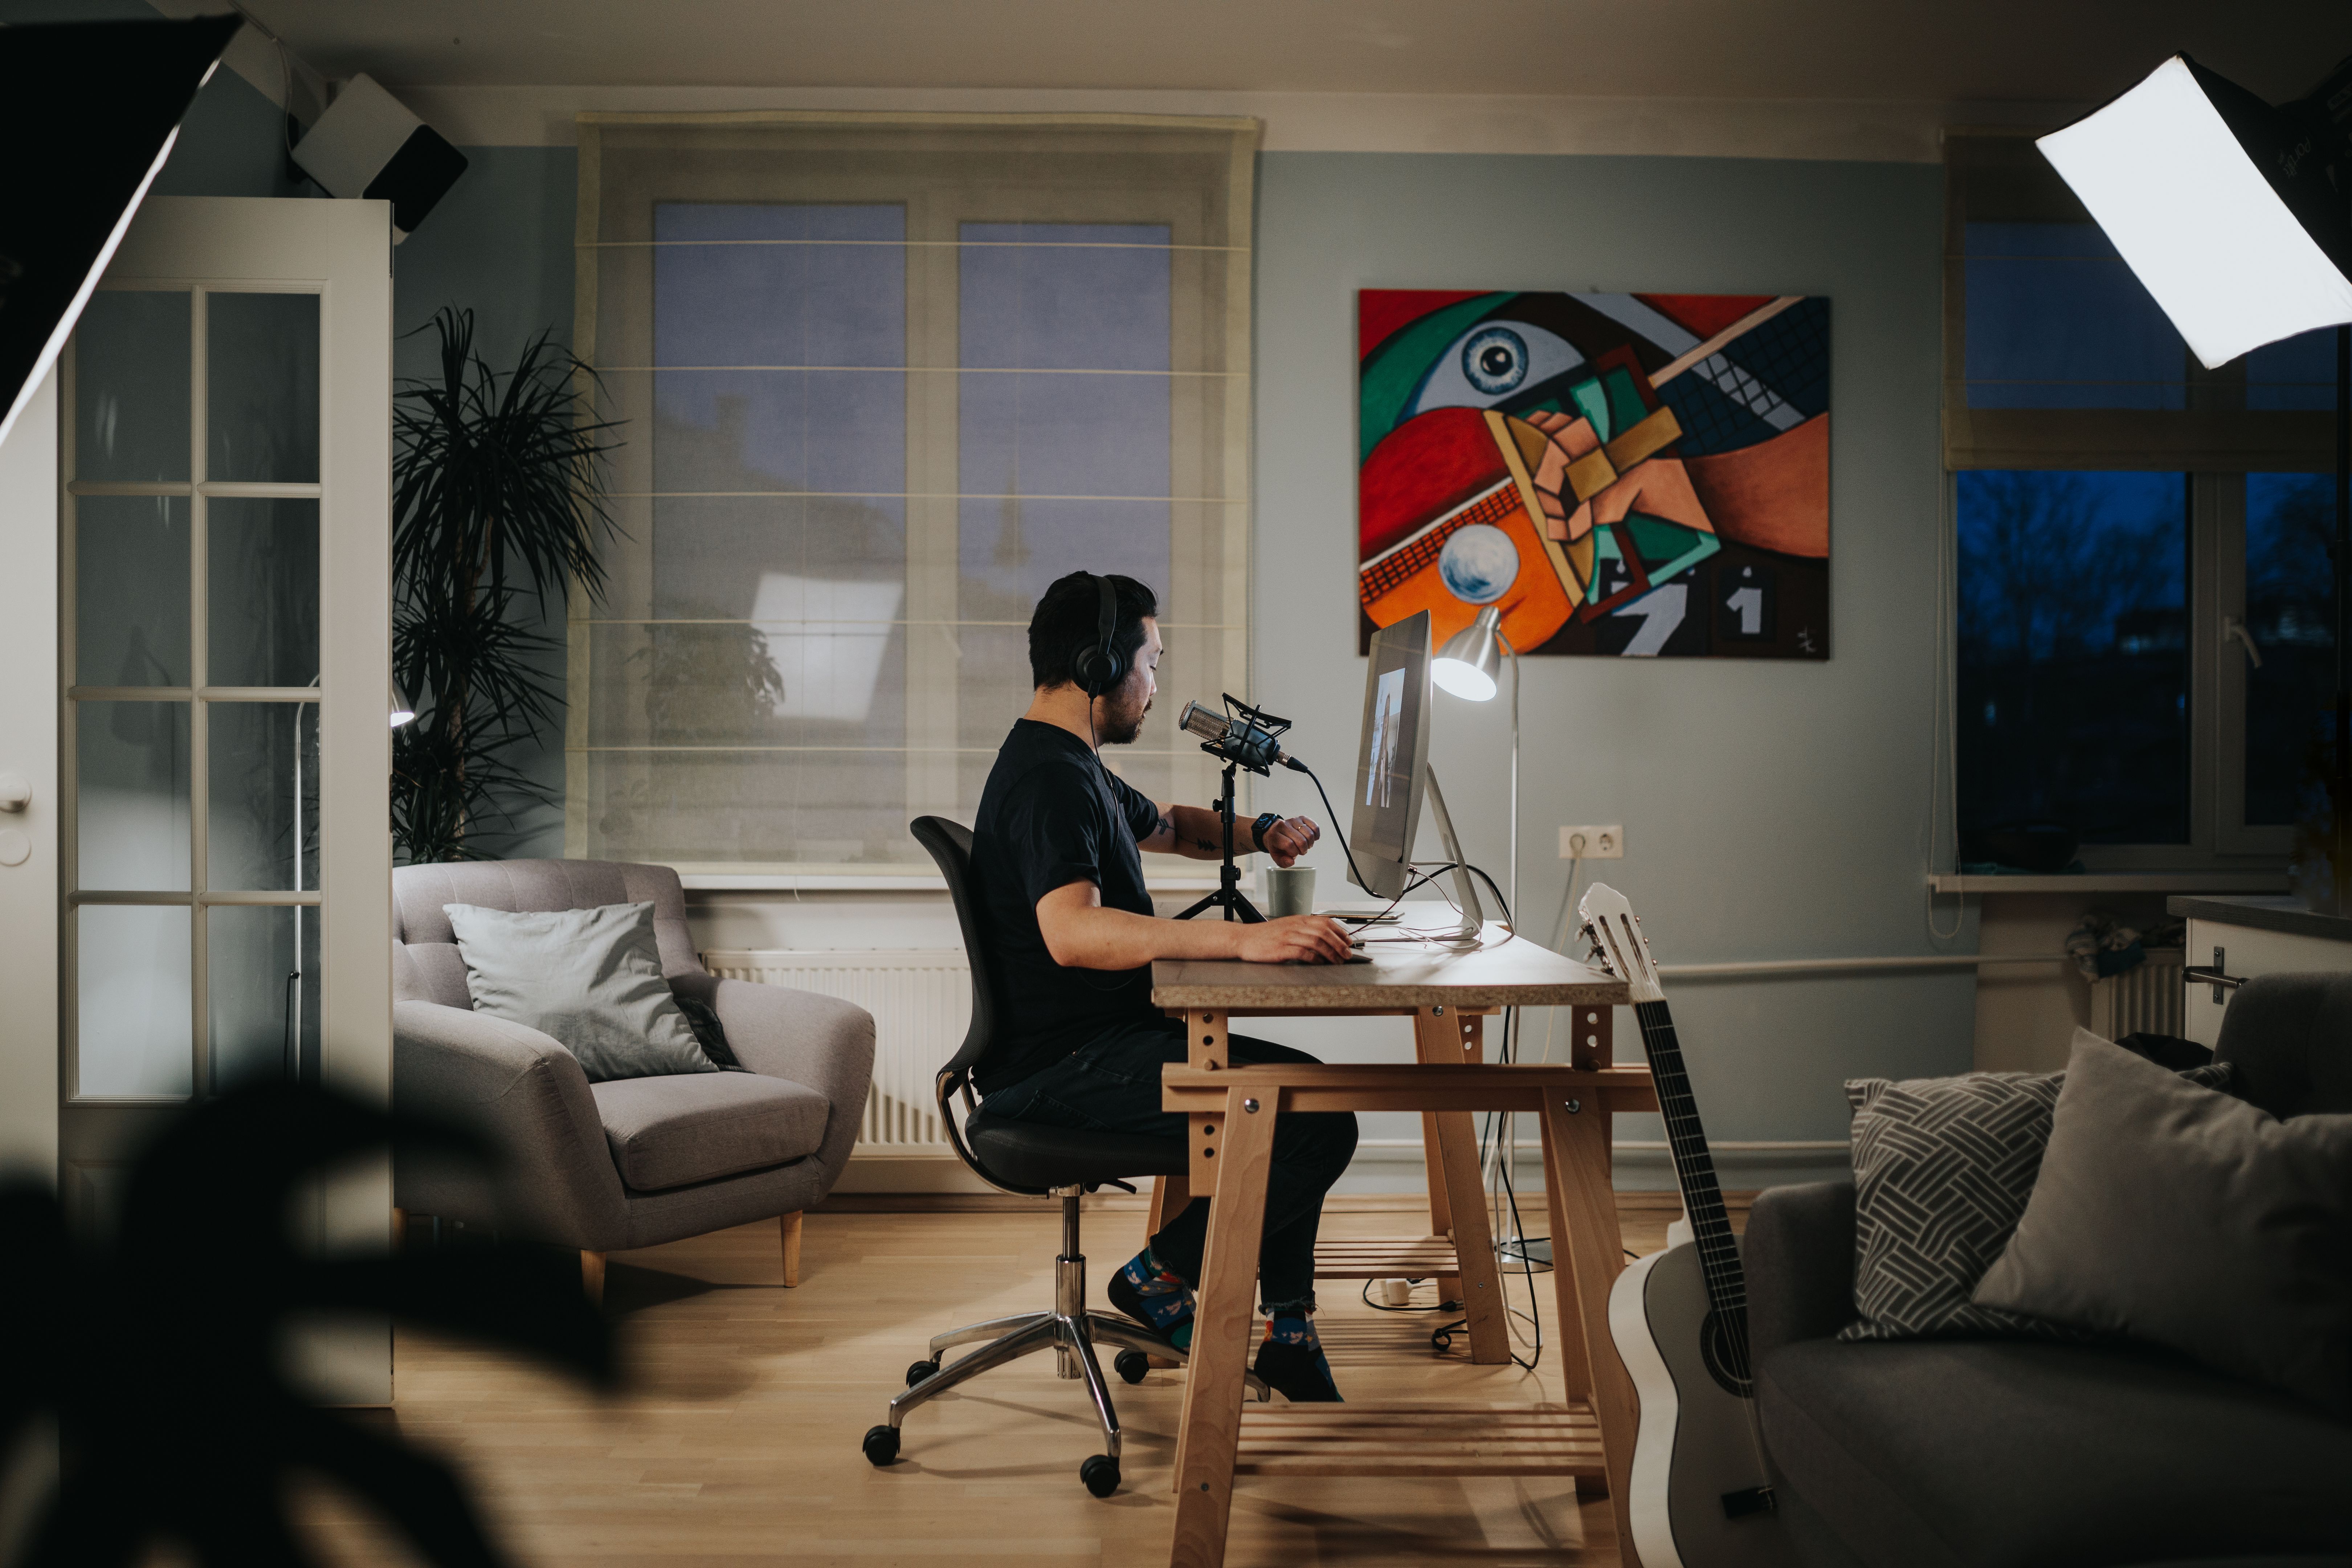
Creating a professional sound from the comfort of your own home starts with the right setup. While you don't need a fully equipped studio, some basic equipment can dramatically improve your sound quality. The essentials include a good-quality microphone, headphones, audio interface, and studio monitors. Investing in acoustic treatment for your room can also make a significant difference in sound clarity and precision.
Positioning your speakers correctly is crucial. They should form an equilateral triangle with your listening position, ideally at ear level, to ensure the best sound experience. Additionally, consider using headphones for detailed listening and editing as they can help isolate sounds that might be missed with speakers alone.
Understanding Your DAW
Your Digital Audio Workstation (DAW) is where all the magic happens. It's essential to become familiar with its features and capabilities. Most DAWs come equipped with a variety of tools that can enhance your music, such as EQs, compressors, and limiters. Spend time learning how to use these tools effectively to manipulate sound quality.
Utilize online resources and tutorials to get a better grasp of your DAW’s functionalities. Many platforms offer free courses or videos that can help you master the basics and more advanced techniques. Experiment with different plugins to find the ones that best suit your style and needs.
Mastering Techniques for Home Production
Mastering is the final step in music production and involves fine-tuning your track to ensure it sounds polished and professional. This process includes balancing levels, enhancing clarity, and adding depth to your mix. Start by setting a reference track to guide your mastering process. This track should embody the sound quality you aspire to achieve.

Begin with equalization (EQ) to balance frequencies. Focus on cutting rather than boosting frequencies to prevent distortion and maintain natural sound. Next, use compression to control dynamics and keep your track sounding smooth and consistent.
Using Limiting and Stereo Imaging
Limiting is essential in mastering as it maximizes loudness without causing distortion. Carefully adjust the limiter's threshold to bring out the best in your track while maintaining clarity. Avoid pushing it too hard, as this can lead to loss of detail.
Stereo imaging can add width and dimension to your mix. Use panning techniques to place instruments in the stereo field effectively. Be mindful of maintaining a balanced stereo image to ensure all elements are clearly heard across different playback systems.

Finalizing Your Master
Once you've applied these mastering techniques, it's time for critical listening. Check your track on various playback systems, including headphones, car speakers, and home stereo systems, to ensure it translates well across all platforms. This step helps identify any inconsistencies or areas that need further adjustment.
Finally, export your track in high-quality formats like WAV or AIFF to preserve its integrity. Properly tagging and organizing your files will make them easier to manage and distribute.
Continuous Learning and Improvement
Achieving professional sound quality at home is an evolving process that requires continuous learning and experimentation. Stay updated with new techniques, tools, and trends in music production by engaging with online communities, attending webinars, and reading industry publications.
Remember that practice makes perfect. The more you experiment with different techniques and tools, the better you'll become at producing high-quality music from home. With dedication and effort, you can achieve impressive results that rival those of professional studios.