DIY Audio Mastering: What You Can Do Before Hiring a Professional
Understanding the Basics of Audio Mastering
Before diving into the world of DIY audio mastering, it's essential to understand what mastering actually involves. Mastering is the final step in the audio production process, where your track is polished for distribution. It enhances sound quality, ensures consistency across various playback systems, and prepares the audio for formats like CDs or digital streaming platforms.

Setting Up Your Workspace
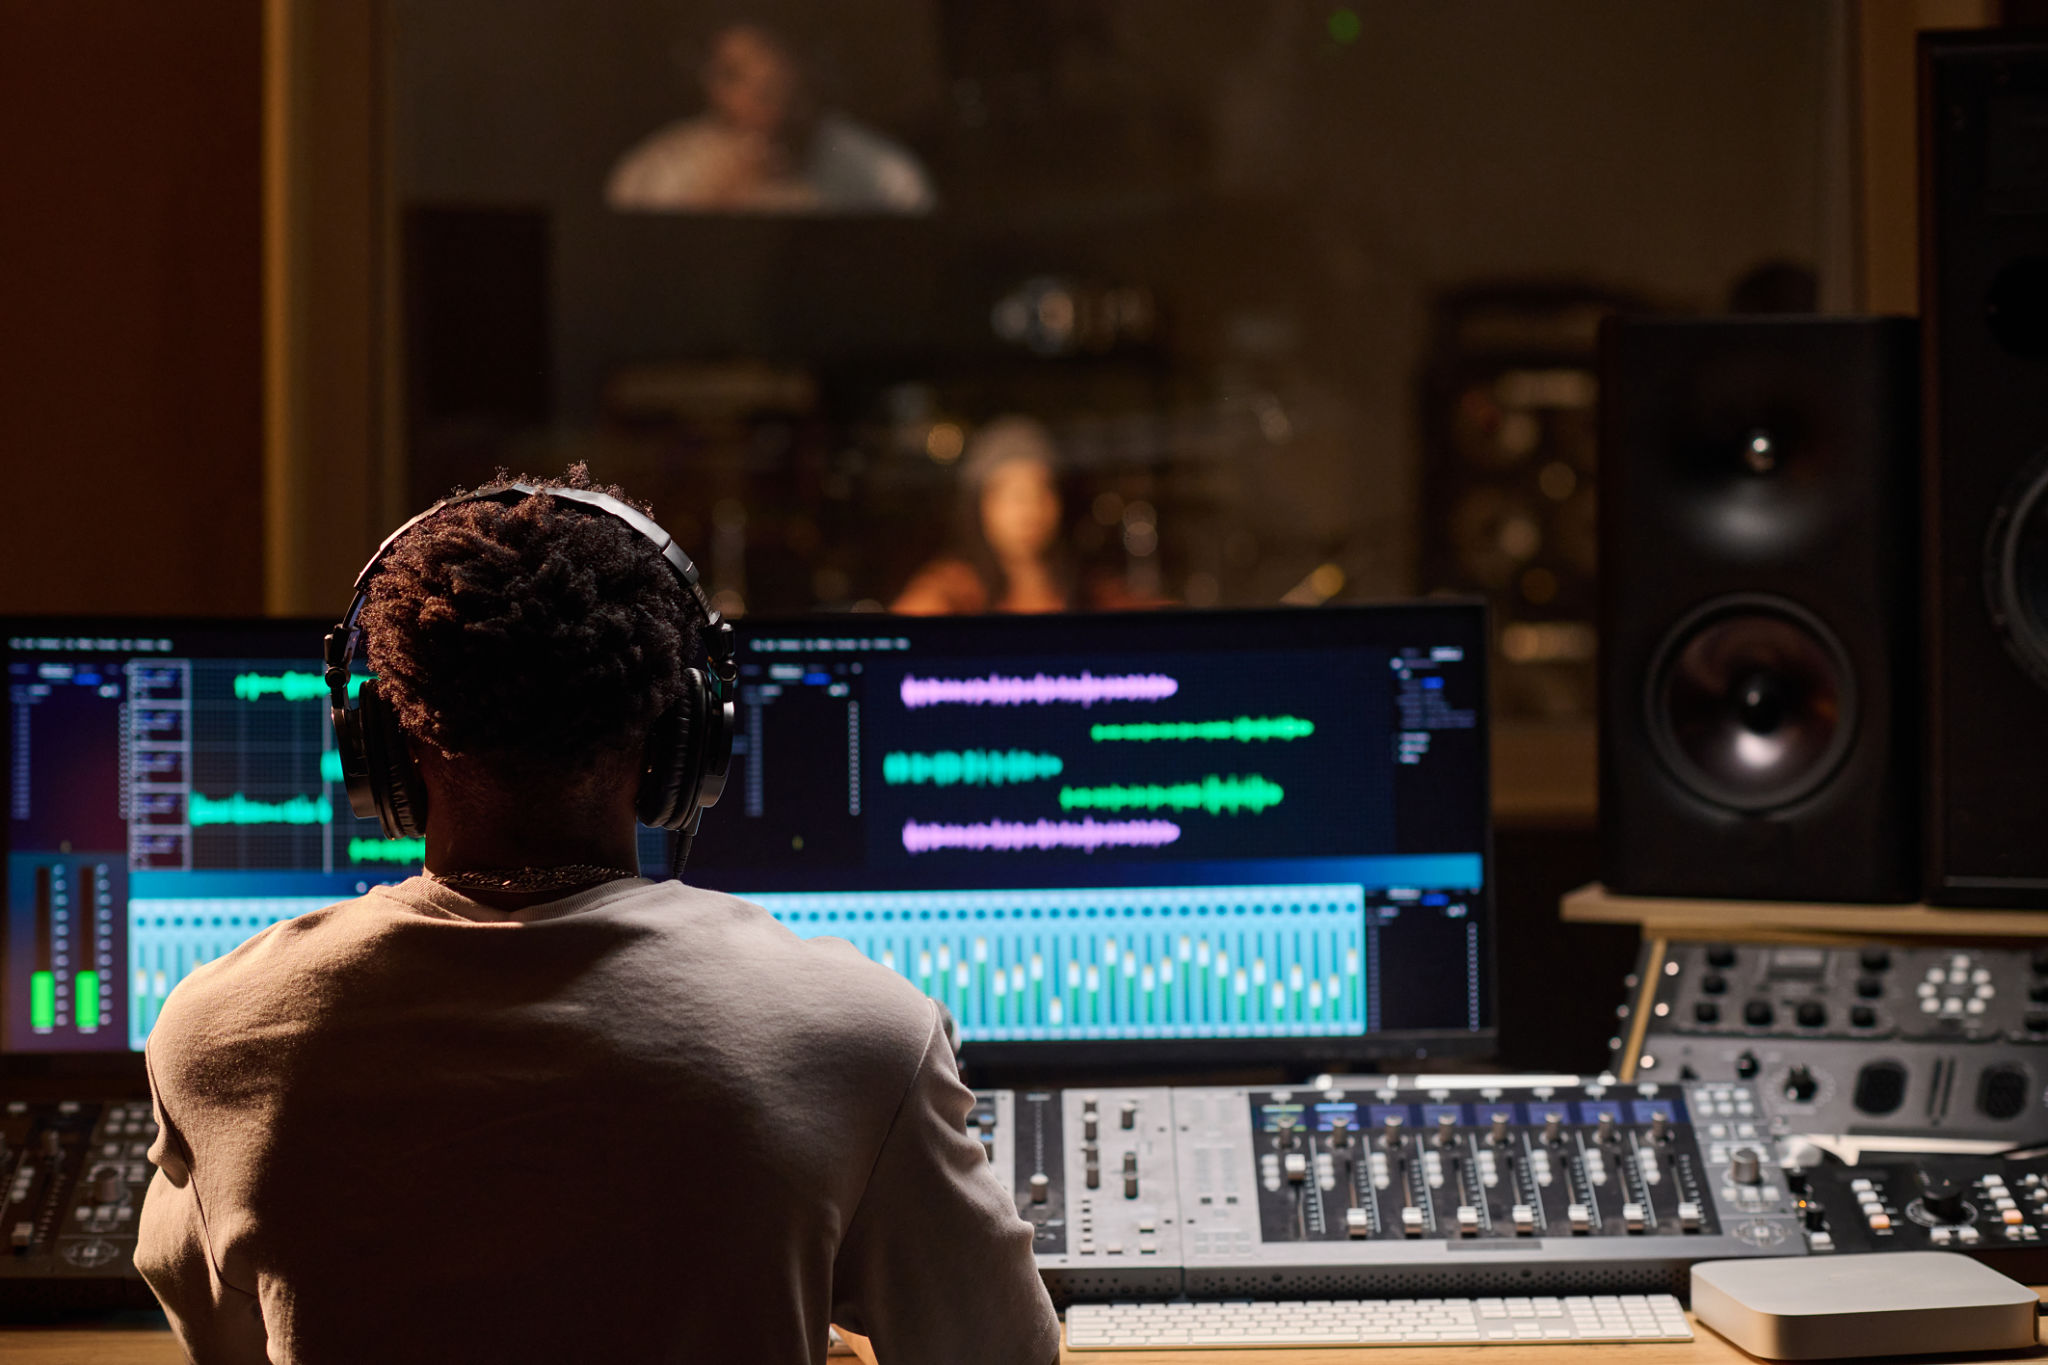
The environment where you work on mastering your audio can greatly influence the results. Start by creating a dedicated space with proper acoustics. Minimize background noise and invest in quality headphones or studio monitors. Ensure that your computer and software are up to the task; DAWs (Digital Audio Workstations) like Ableton Live or Logic Pro are excellent choices for audio mastering.
Initial Steps: Preparing Your Mix
Before you begin mastering, it's crucial to have a well-balanced mix. Focus on achieving a proper balance between all elements of your track. Listen for any clashing frequencies and use EQ (Equalization) to adjust them. Make sure the levels are consistent and that there is no distortion or clipping in the mix.

Using Reference Tracks
Reference tracks are commercially mastered songs that you can use as a benchmark for your own work. Choose tracks that are similar in style and genre to your project. Listening to these during the mastering process helps you understand the sound quality and loudness level you should aim for. Compare your track with the reference to identify areas that need improvement.
Applying EQ and Compression
EQ and compression are essential tools in the mastering process. Use EQ to fine-tune the tonal balance of your track. It helps in enhancing certain frequencies and reducing others that might be overpowering. Compression, on the other hand, controls the dynamic range, ensuring that your track maintains a consistent volume level across all sections.

The Importance of Limiting
Limiting is the final step in DIY mastering and is crucial for achieving the desired loudness without distortion. A limiter sets a ceiling for your track's volume, ensuring it doesn't exceed a certain level. This step is vital for making sure your track competes with others in terms of loudness on streaming platforms and radio.
Listening on Multiple Devices
Once you have applied EQ, compression, and limiting, it's time to test your track on different devices. Play your mastered track on headphones, studio monitors, car speakers, and even smartphones. This practice helps you identify any inconsistencies in sound quality across various playback systems.
Taking a Break and Final Review
After spending hours working on a track, your ears can become fatigued. Take a break before doing a final review. A fresh perspective often reveals issues that went unnoticed before. Listen closely for any unwanted noise or imbalances, and make any necessary adjustments.

Knowing When to Hire a Professional
While DIY mastering can be rewarding and cost-effective, there are times when hiring a professional is the best choice. If your project is complex or aimed at a commercial release, professional mastering can provide a level of polish that is hard to achieve on your own. Professionals have access to high-end equipment and years of experience, ensuring your track sounds its absolute best.
